

はじめに
この記事では、googleカレンダーのAPIの利用環境の構築から予定を取得する方法までの手順を紹介します。
使用する言語はPythonです。
公式ドキュメントと違い、この記事ではgoogleworkspceを使用していません。
事前準備
Pythonをインストール済み、Google Cloud、Googleカレンダーが使用可能であることを前提としています。
すでにGoogle Cloudのプロジェクトは作成済みとします。
無料なので、請求先アカウントの紐付けは不要です。
Google Cloudのセットアップ
APIの有効化
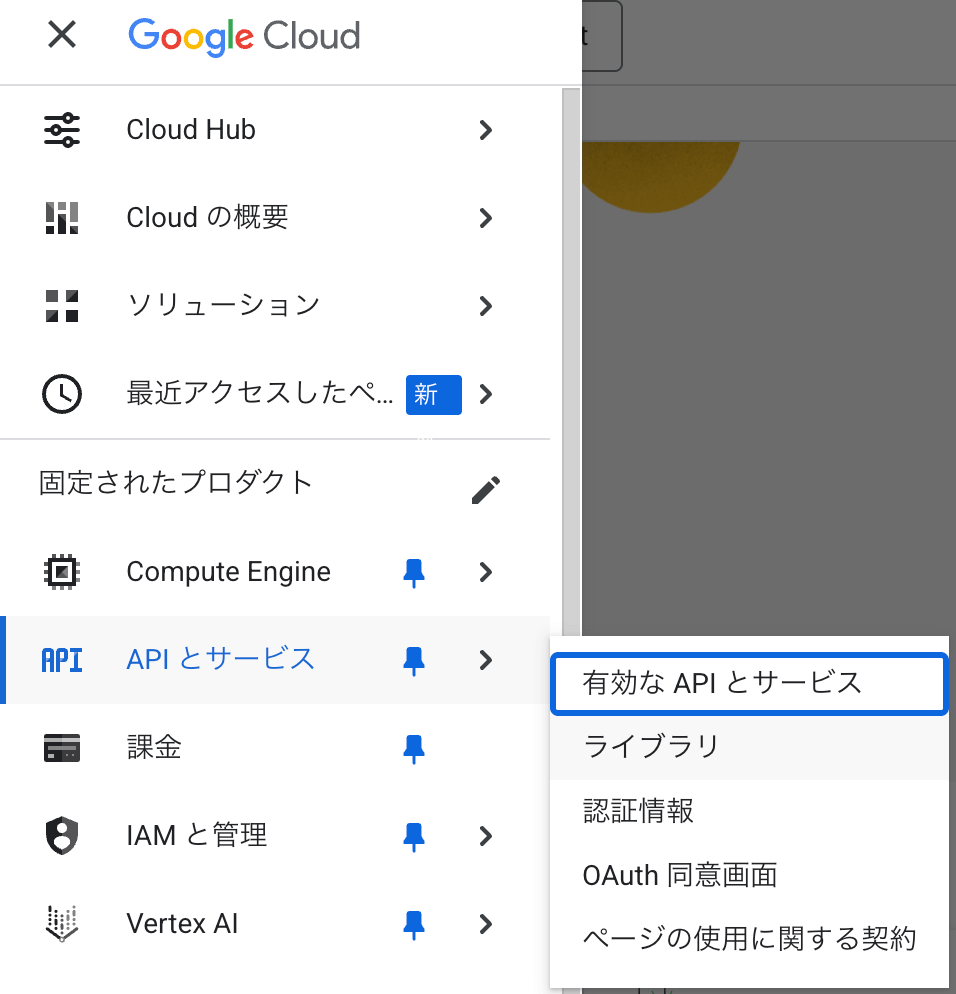
Google Cloudのプロジェクトから、「APIとサービス」>「ライブラリ」を選択します。
「APIとサービス」がピンで固定されていない場合は、プロダクトの検索から進んでください。
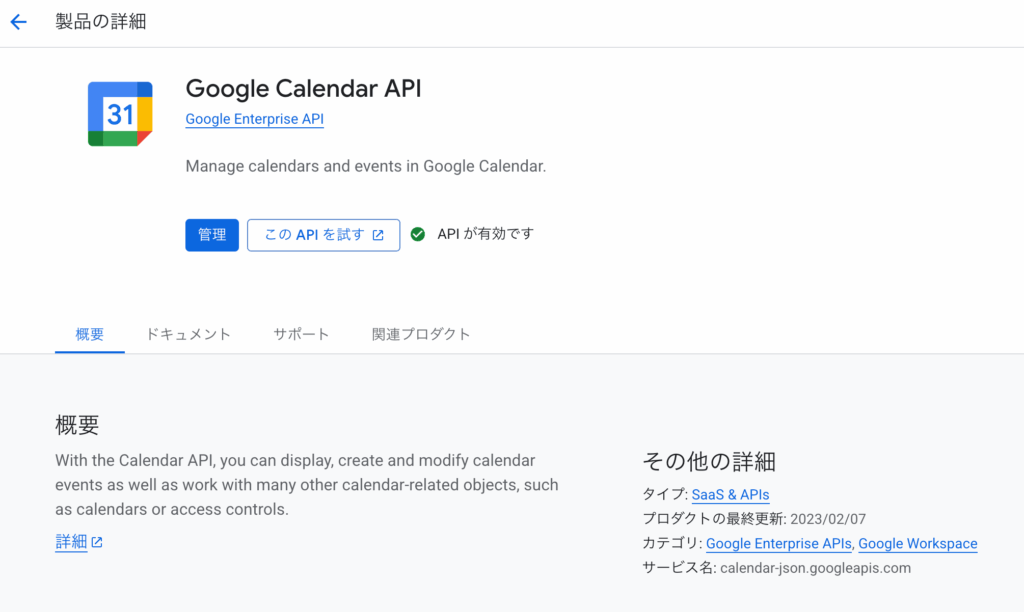
APIライブラリの検索からGoogle Calendar APIを選択します。

APIを有効化します。
Google Auth Platformの設定
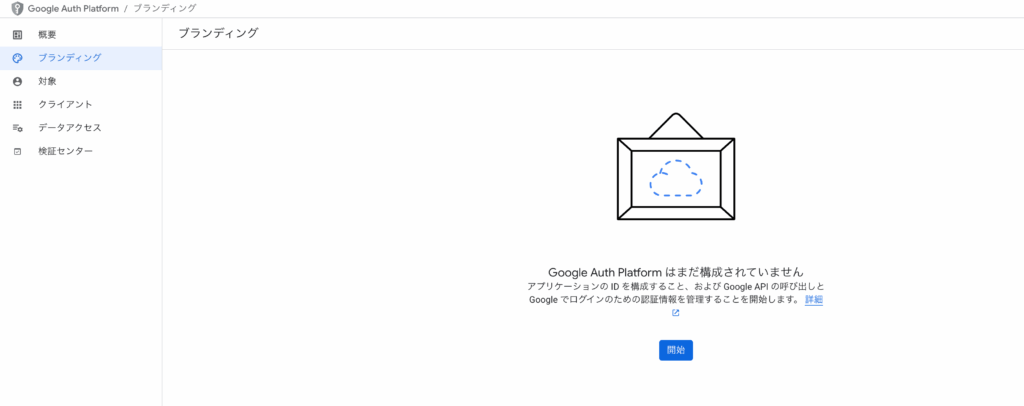
「Google Auth Platform」>「ブランディング」を選択します。
これも、見つからない場合はプロダクトの検索から進んでください。
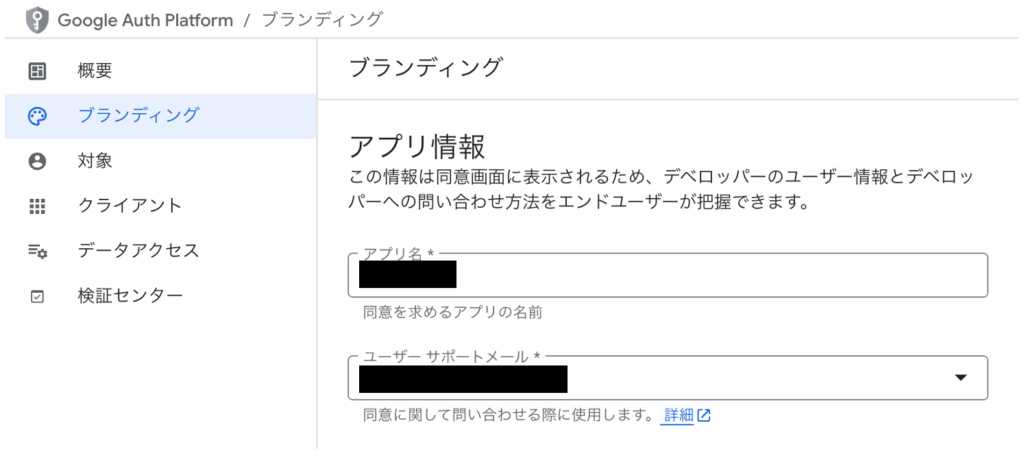
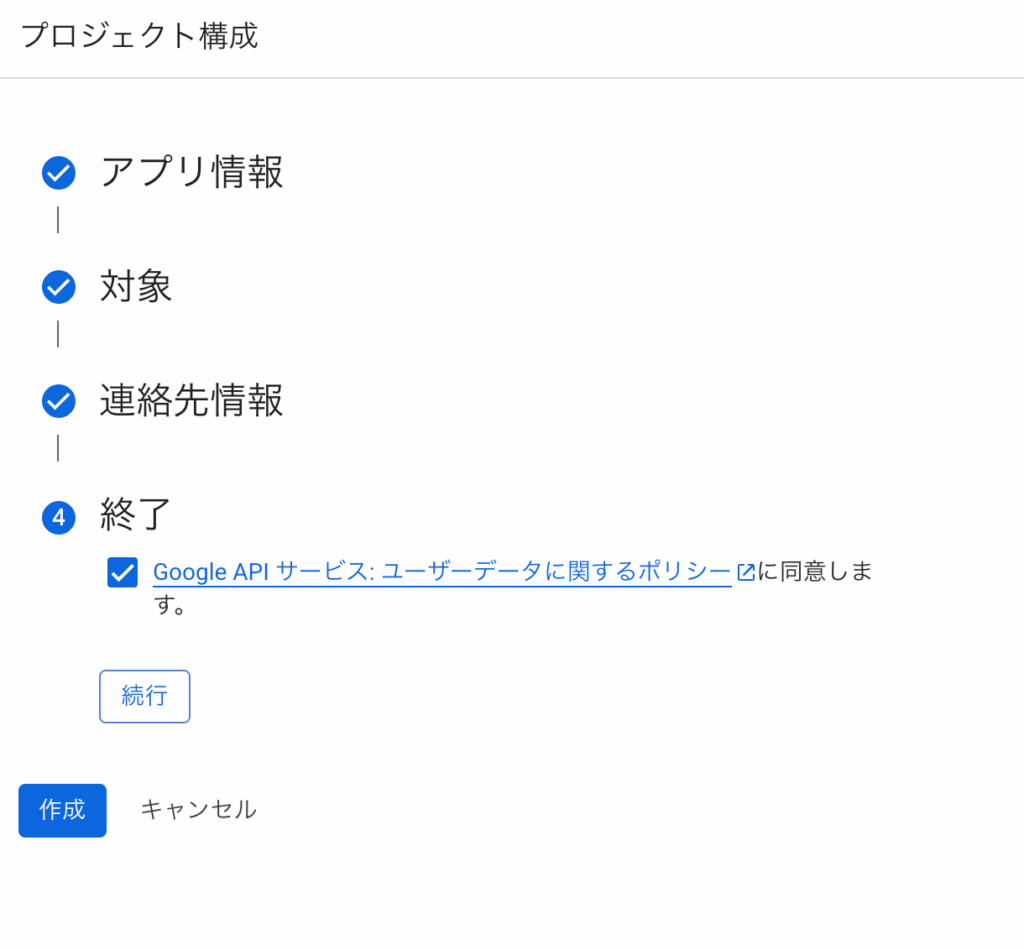
ブランディングから「アプリ名」、「ユーザーサポートメール」等を入力します。
ユーザーの対象は「外部」を選択します。
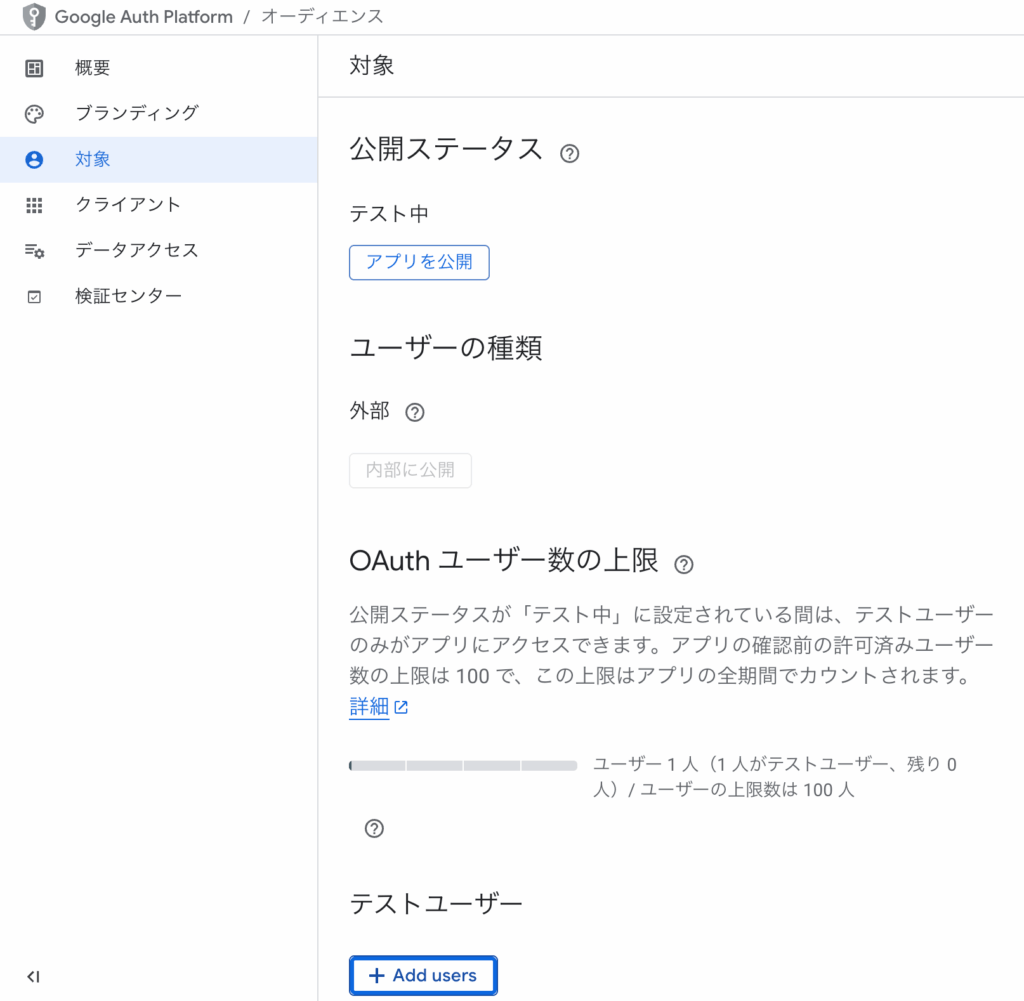
「対象」の画面で、公開ステータス:テスト中、ユーザーの種類:外部となっていると思います。
下部の「テストユーザー」の「+ Add users」から、自身のGoogleアカウントを追加してください。
次に、OAuth2.0 クライアントを作成します。

アプリケーションタイプは「デスクトップアプリ」を選択してください。
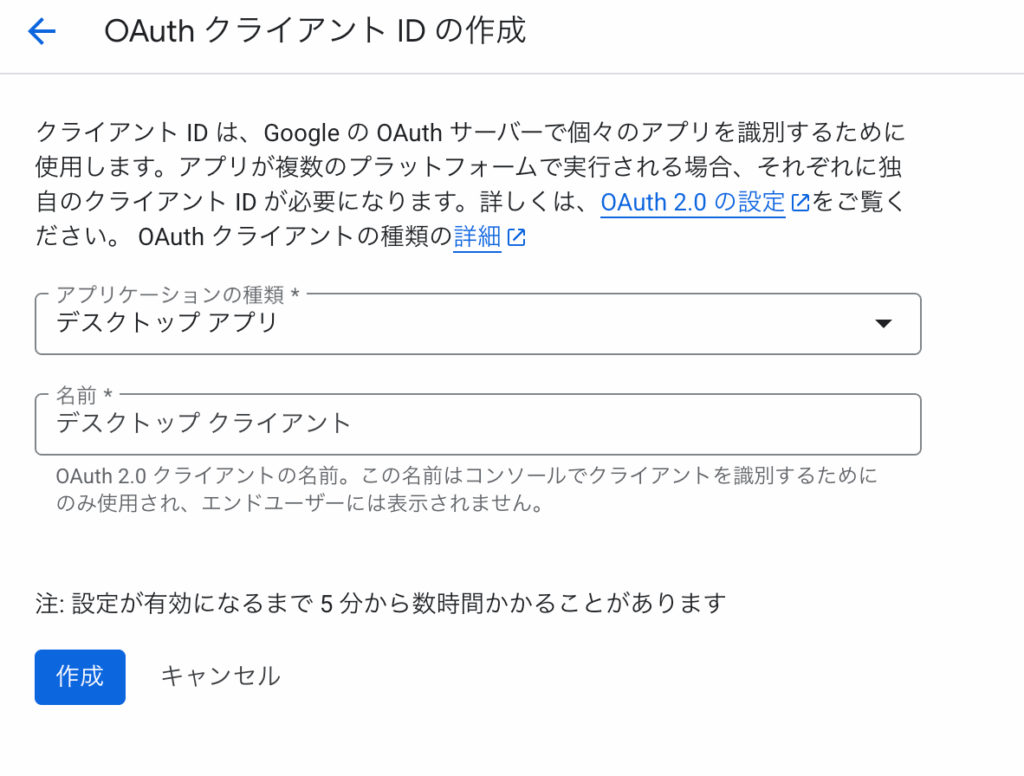
作成したときにJSONを確実に保存してください。
JSONを”credentials.json”という名前に変更し、作業ディレクトリへ移動させてください。
ライブラリのインストール
pip3 install --upgrade google-api-python-client google-auth-httplib2 google-auth-oauthlibサンプルコード
以下に、サンプルコードを示します。
Githubでも公開しています。https://github.com/kobayashiry0/google-calendar-api-sample
公式ドキュメントにあるquickstart.pyをベースに関数を分離したり、いくつかの出力を追加したりしています。
main関数内の<カレンダーID>は自身のGoogleカレンダーのIDに書き換えてください。
カレンダーIDの確認方法は、Googleカレンダーの設定画面か、list_calendars関数を実行することでも確認できます。
import datetime
import os

from google.auth.transport.requests import Request
from google.oauth2.credentials import Credentials
from google_auth_oauthlib.flow import InstalledAppFlow
from googleapiclient.discovery import build
from googleapiclient.errors import HttpError

# スコープを変更する場合は、token.jsonファイルを削除すること
SCOPES = ["https://www.googleapis.com/auth/calendar.readonly"]

def get_credentials():
    """
    Google Calendar APIの認証情報を取得
    """
    creds = None
    tokenpath = "token.json"
    if os.path.exists(tokenpath):
        creds = Credentials.from_authorized_user_file(tokenpath, SCOPES)

    # 認証情報がない、または無効な場合はログイン
    if not creds or not creds.valid:
        if creds and creds.expired and creds.refresh_token:
            creds.refresh(Request())
        else:
            flow = InstalledAppFlow.from_client_secrets_file("credentials.json", SCOPES)
            creds = flow.run_local_server(port=0)
        # 次回以降のために認証情報を保存
        with open(tokenpath, "w") as token:
            token.write(creds.to_json())
    return creds

def list_calendars(service) -> None:
    """
    カレンダー一覧を取得して表示
    """
    calendar_list = service.calendarList().list().execute()
    for cal in calendar_list['items']:
        print(cal['summary'], cal['id'])


def get_events(service, calendarId):
  """
  ユーザーのカレンダーの次の5件のイベントの開始時刻と名前を表示します。
  """
  try:

    # カレンダーAPIを呼び出す
    now = datetime.datetime.now(tz=datetime.timezone.utc).isoformat()

    events_result = (service.events().list(calendarId=calendarId, timeMin=now, maxResults=5, singleEvents=True, orderBy="startTime").execute())
    events = events_result.get("items", [])

    if not events:
      print("イベントが見つかりませんでした。")
      return

    for event in events:
      print("イベント名:", event["summary"])
      print("説明:", event.get("description", "(未設定)"))
      print("開始:", event["start"].get("dateTime", event["start"].get("date")))
      print("終了:", event["end"].get("dateTime", event["end"].get("date")))
      print("場所:", event.get("location", "(未設定)"))
      print("-----")

  except HttpError as error:
    print(f"An error occurred: {error}")


def main():
  creds = get_credentials()
  service = build("calendar", "v3", credentials=creds)
  list_calendars(service)

  # カレンダーIDを指定してイベントを取得
  calendarId = "<カレンダーID>"
  get_events(service, calendarId)

if __name__ == "__main__":
  main()
実行
python3 sample.py実行すると、初回はログインが求められます。
また、初回実行後は”token.json”が作成されます。これによって、毎回ログインを求められることはなくなります。
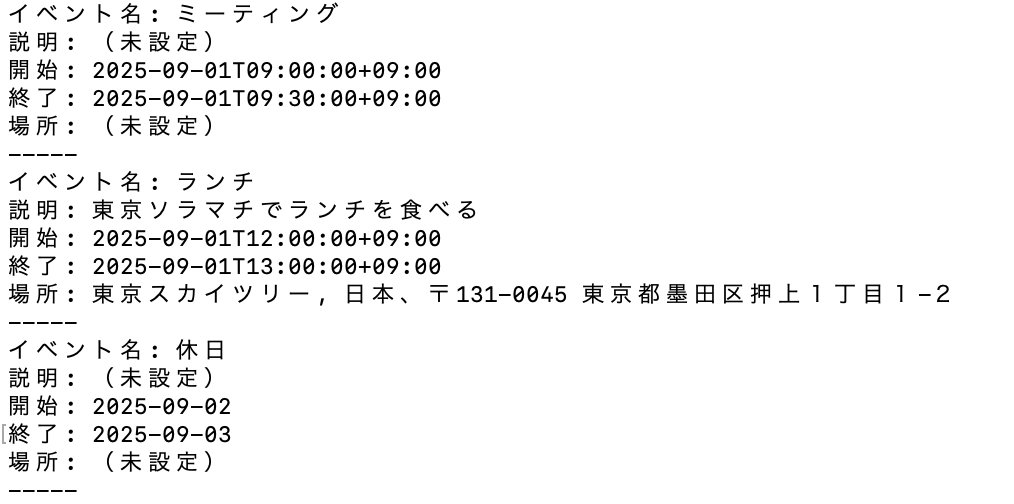
実行例
テスト用にいくつかの予定をいれました。
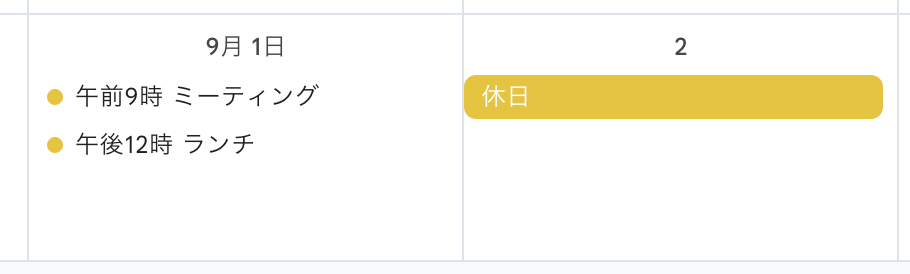
実行結果
実行時点から先の予定が最大5件表示されます。
おわりに
GoogleカレンダーのイベントをAPIで取得することができました。
権限を変更すれば、イベントの作成や編集も可能にできるので、今後調べていきたいです。
今後の応用として、MCP: Model Context Protocolを使用して、LLMがカレンダーを参照して応答するといったことができると面白いです。
参考
Google Calendar API の概要 | Google for Developers:https://developers.google.com/workspace/calendar/api/guides/overview?hl=ja
コメントを残す